

Three stages. What each one really produces is information, and the quality of that information is what decides whether the finished room is the one we drew.
Who the guest is, what the operator has promised them, and what the site is already saying. Context, look and feel, moodboard, and the concept that everything after this has to answer to.

The plan, furnished. Guestroom types, public areas, F&B, and the back of house that keeps them running. Finishes, fixed and loose furniture, bathroom fittings, decorative lighting laid out, options per space. This is the point where changing your mind is still cheap.
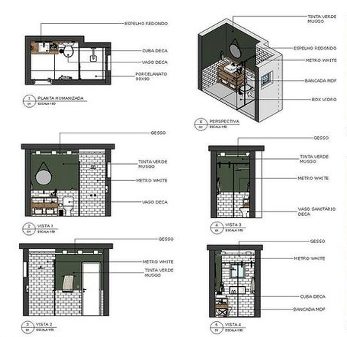
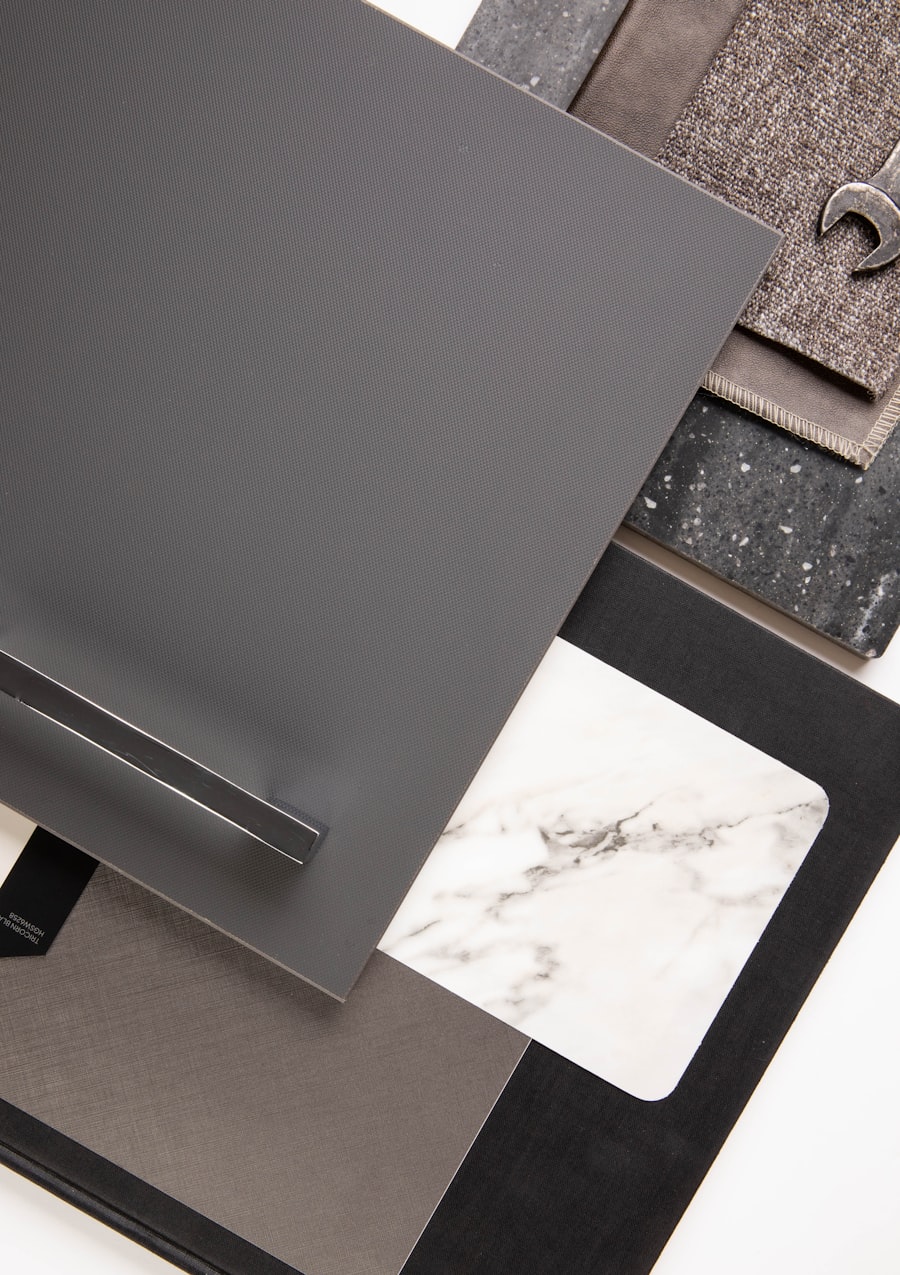
The documented drawing package, physical samples to sign off, FF&E and OS&E selection, and a schedule with a sheet for every piece. Written so that whoever buys it, installs it, and replaces it in three years is reading the same sheet.

Inside the design development package
Plans, sections and elevations. Criteria for plumbing, for outlets and switch plates. Ceilings with HVAC, lighting and shadow-gap criteria. Glazing criteria and module layout.
Finish plans with the setting-out of floors, walls and ceilings. Bathrooms drawn in plan and elevation. FF&E locations, decorative lighting locations, special electrical.
Millwork drawings with modules and dimensions. A 3D volumetric model on request.
Approximate, for when it helps to speak the same language as an international team.
If this is how you like to work, we should talk.